DIY Siding Installation Guides – When it comes to home improvement projects, DIY siding installation is one of the most rewarding tasks you can tackle on your own. Not only does it enhance your home’s curb appeal, but it can also significantly increase its value. Whether you’re replacing old siding or installing new siding for the first time, this DIY siding installation guide will walk you through the entire process. From selecting the right materials to finishing touches, we’ve got you covered!

Why Choose DIY Siding Installation?
Installing siding by yourself offers several benefits. First and foremost, it’s cost-effective. Professional installation can be expensive, and by handling it yourself, you can save hundreds, if not thousands, of dollars. Additionally, DIY siding installation allows you to take full control of the project, ensuring the final result matches your vision.
However, before diving into the installation, it’s essential to understand the requirements and challenges. With proper planning, the right tools, and a bit of patience, you can achieve professional-looking results.
Step 1: Choose the Right Siding Material
Before you start, it’s crucial to choose the right siding material for your home. Here are a few popular options for DIY siding projects:
- Vinyl Siding: Vinyl is the most common DIY siding material due to its affordability, ease of installation, and low maintenance. It comes in various colors and styles, including horizontal and vertical panels.
- Wood Siding: Wood siding provides a natural look and is often chosen for its aesthetic appeal. It requires more maintenance than vinyl but offers great insulation properties.
- Fiber Cement Siding: Fiber cement is durable and low-maintenance, with a wood-like appearance. It’s heavier than vinyl and wood, so it may require more effort during installation.
- Metal Siding: Aluminum or steel siding is low-maintenance and resistant to fire and insects. It’s a good option for modern homes but can be difficult to handle due to its weight.
Consider factors such as climate, durability, and aesthetic preferences when choosing the best siding for your home.
Step 2: Gather the Right Tools and Materials
To get started, you’ll need a variety of tools and materials. Here’s a list of the essentials:
Tools:
- Tape measure
- Circular saw or jigsaw (for cutting siding)
- Hammer or nail gun
- Level (for ensuring even placement)
- Utility knife (for trimming)
- Chalk line (for straight lines)
- Ladder or scaffolding (for reaching higher areas)
Materials:
- Siding panels (choose the material based on your preference)
- Nails or screws (specific to the material)
- Caulk (for sealing seams and joints)
- Flashing (to protect against water infiltration)
- Insulation (optional, for energy efficiency)
Make sure you have all these tools ready before starting your project to avoid unnecessary delays.
Step 3: Prepare the Surface
Before installing your new siding, you must prepare the exterior surface of your home. This step is crucial to ensure a smooth installation and prevent any moisture-related issues in the future.
- Remove old siding: If you’re replacing existing siding, begin by carefully removing the old material. Use a pry bar or hammer to detach the panels, starting from the top. Be mindful of any damage to the underlying structure.
- Inspect the wall: Once the old siding is removed, inspect the exterior walls for any signs of damage or rot. Repair any issues before continuing with the installation.
- Install insulation (optional): If you’re looking to improve your home’s energy efficiency, consider adding insulation behind the siding. This step can help regulate indoor temperatures and reduce energy costs.
Step 4: Measure and Cut the Siding
Accurate measurements are key to a successful DIY siding installation. Use a tape measure to determine the height and width of each section of the wall you’ll be covering with siding. Be sure to account for any windows, doors, or architectural features.
Once measured, use a circular saw or jigsaw to cut the siding panels to the appropriate size. Be sure to wear safety glasses and gloves while cutting to protect yourself from flying debris.
Step 5: Start Installing the Siding
Now it’s time to begin the actual installation. Here’s a simple step-by-step process to follow:
- Start from the bottom: Begin installing the siding panels at the bottom of the wall. Make sure the first row is level using a chalk line and a level. This will ensure that the rest of the panels are properly aligned.
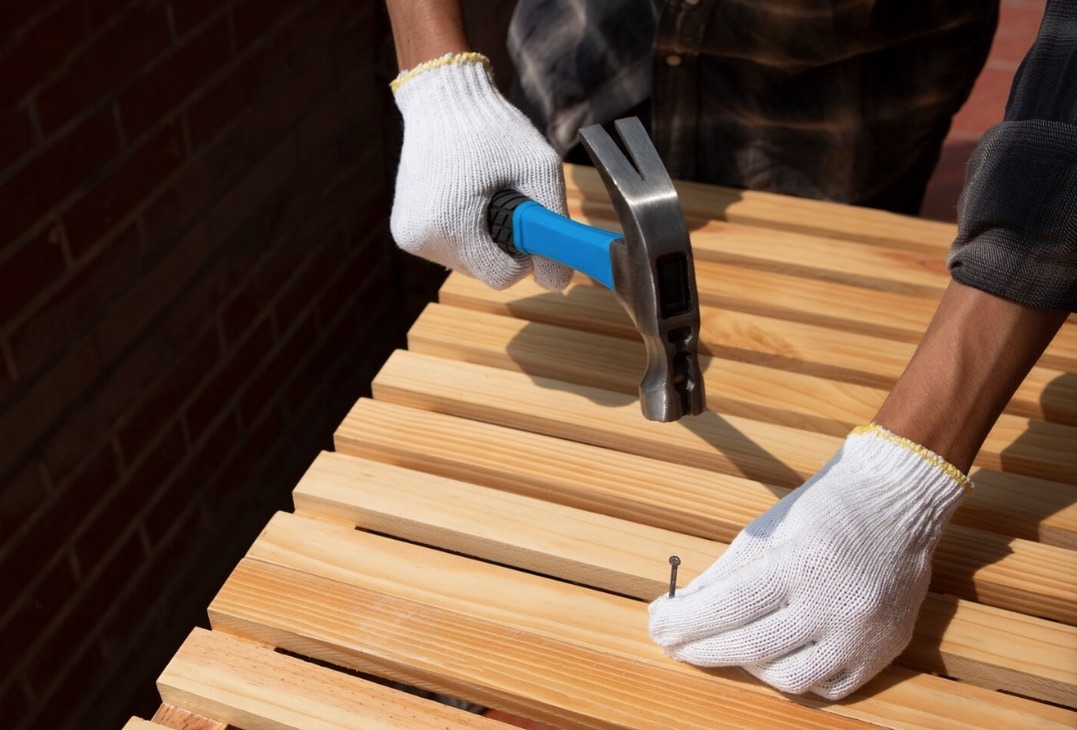
- Nail the panels into place: Using a hammer or nail gun, secure each panel into place, making sure to leave a small gap between the panels for expansion. Nails should be driven into the studs behind the wall for maximum stability.
- Overlap the panels: As you work your way up, overlap each panel with the one below it. Most siding panels are designed with an interlocking feature that makes this step simple.
- Check for levelness: Continuously check each row of siding with a level to ensure the panels are installed evenly. If you notice any misalignment, adjust the panels before securing them.
- Cut around obstacles: For windows, doors, and other obstacles, carefully measure and cut the siding to fit around these features. Use a utility knife for finer trimming.
Step 6: Finish the Siding Installation
Once you’ve installed the siding panels, it’s time for the finishing touches:
- Install flashing and trim: Install flashing around windows, doors, and other openings to prevent water from seeping behind the siding. Add trim to edges for a polished look.
- Seal seams and joints: Use caulk to seal any gaps between panels, corners, and trim. This step is crucial for preventing moisture infiltration.
- Paint or stain (if necessary): If you’re using wood or fiber cement siding, you may want to apply a protective paint or stain. This will help protect the material from the elements and extend its lifespan.
Step 7: Clean Up and Enjoy Your New Siding
After completing the installation, clean up the work area and remove any debris. Step back and admire your hard work — you’ve just added beauty and value to your home!
Conclusion: Is DIY Siding Installation Right for You?
Installing siding yourself is a challenging but rewarding project. With the right tools, materials, and knowledge, you can save money and achieve a professional-looking result. However, it’s essential to plan carefully, work safely, and take your time to ensure the siding is installed properly.
By following this comprehensive DIY siding installation guide, you can confidently tackle your next home improvement project and enhance your home’s exterior for years to come.
